Pages

Saturday, September 28, 2013

Glitter-ifying bedroom accessories!

So, Rhyanne's favorite color is glitter.  (Don't try to tell her that glitter isn't a color; it won't work.)  So while she was in Germany this summer and we were working on giving her room a make-over, I worked on glittering a few accessories for her room

Pinterest was pretty inspirational for these projects.  I really don't think I would have thought to cover her light switch cover in glitter if it wasn't for Pinterest.

Luckily, I knew the wonders of Mod Podge and how it would be an essential part of the project.  So I headed off to the craft store to pick up fine silver glitter and Mod Podge.  I had all the accessories, so it was a fairly inexpensive project.

The first thing I glittered was the light switch cover.  I just painted on a layer of Mod Podge and sprinkled the glitter on top.  After it dried and I shook off the access, I knew it needed a second coat.  I was really worried about this project, so I made sure to really coat the top layer of glitter down with Mod Podge.  It's held up beautifully!

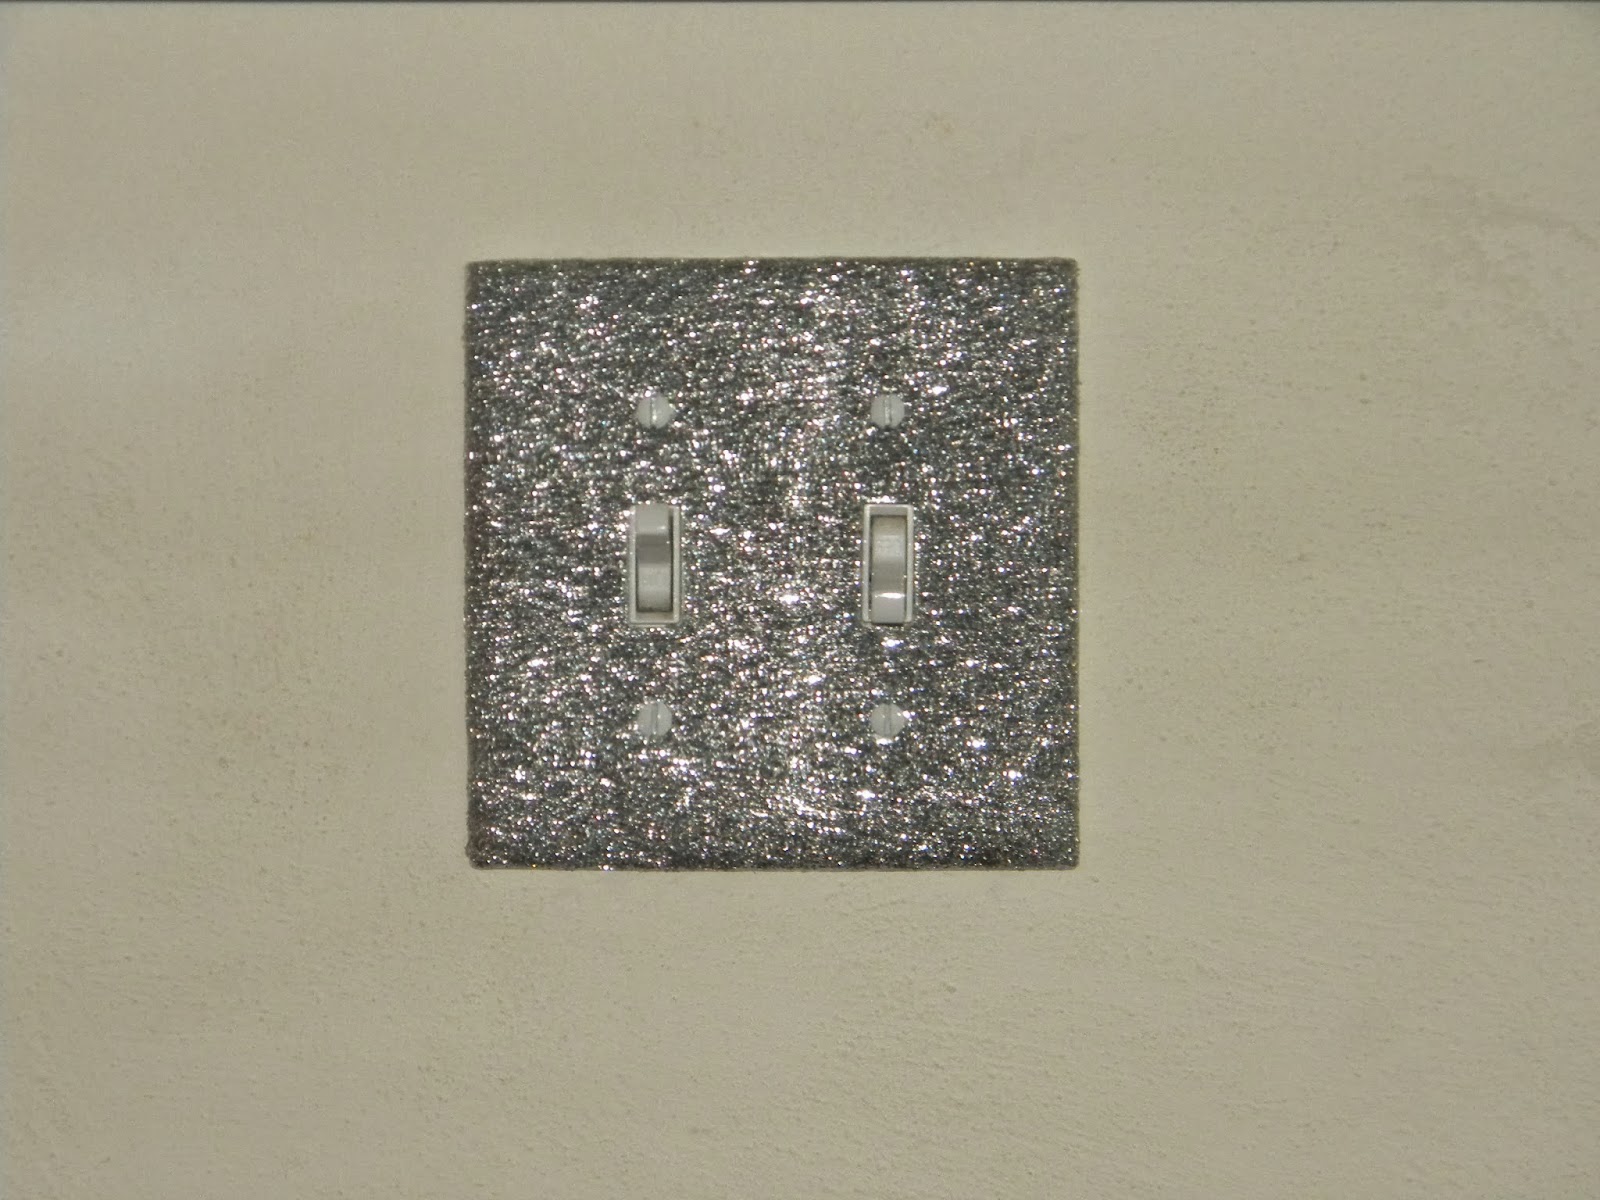
glittery goodness when you walk in the room!

Next was a glittered Mason jar.  Have you seen all the Mason jars on Pinterest?  Apparently you can do just about anything with them.  You can paint them, turn them into a light fixture, hang them from the trees with candles in them, even make a snow globe with them!
a glittery Sharpie holder...
Well, even thought I don't have Mason jars, I have canning jars, and probably most people on Pinterest don't realize that Mason is a brand.  So that didn't matter.  I took the idea of making a glitter jar from Pinterest and ran with it.  Here is a key point to consider if making a glittery Mason Jar:

  • It doesn't have to be Mason, or even a canning jar.  You can use your empty pickle jar if you want.
  • Decide what you're using the jar for.  Do you want to put flowers in it?  Then glitter the outside of the jar.  I decided to glitter the inside of the jar because I figured, hey, maybe less glitter will escape throughout the house that way.
  • Try not to use too much Mod Podge before you add the glitter.  Mine was a bit too thick in areas, and it took 3 days for it to dry to clear!
  • If you want to protect your glitter, coat it with the Mod Podge as a protecting layer.  Kind of like how you put a clear top coat on after you paint your nails.

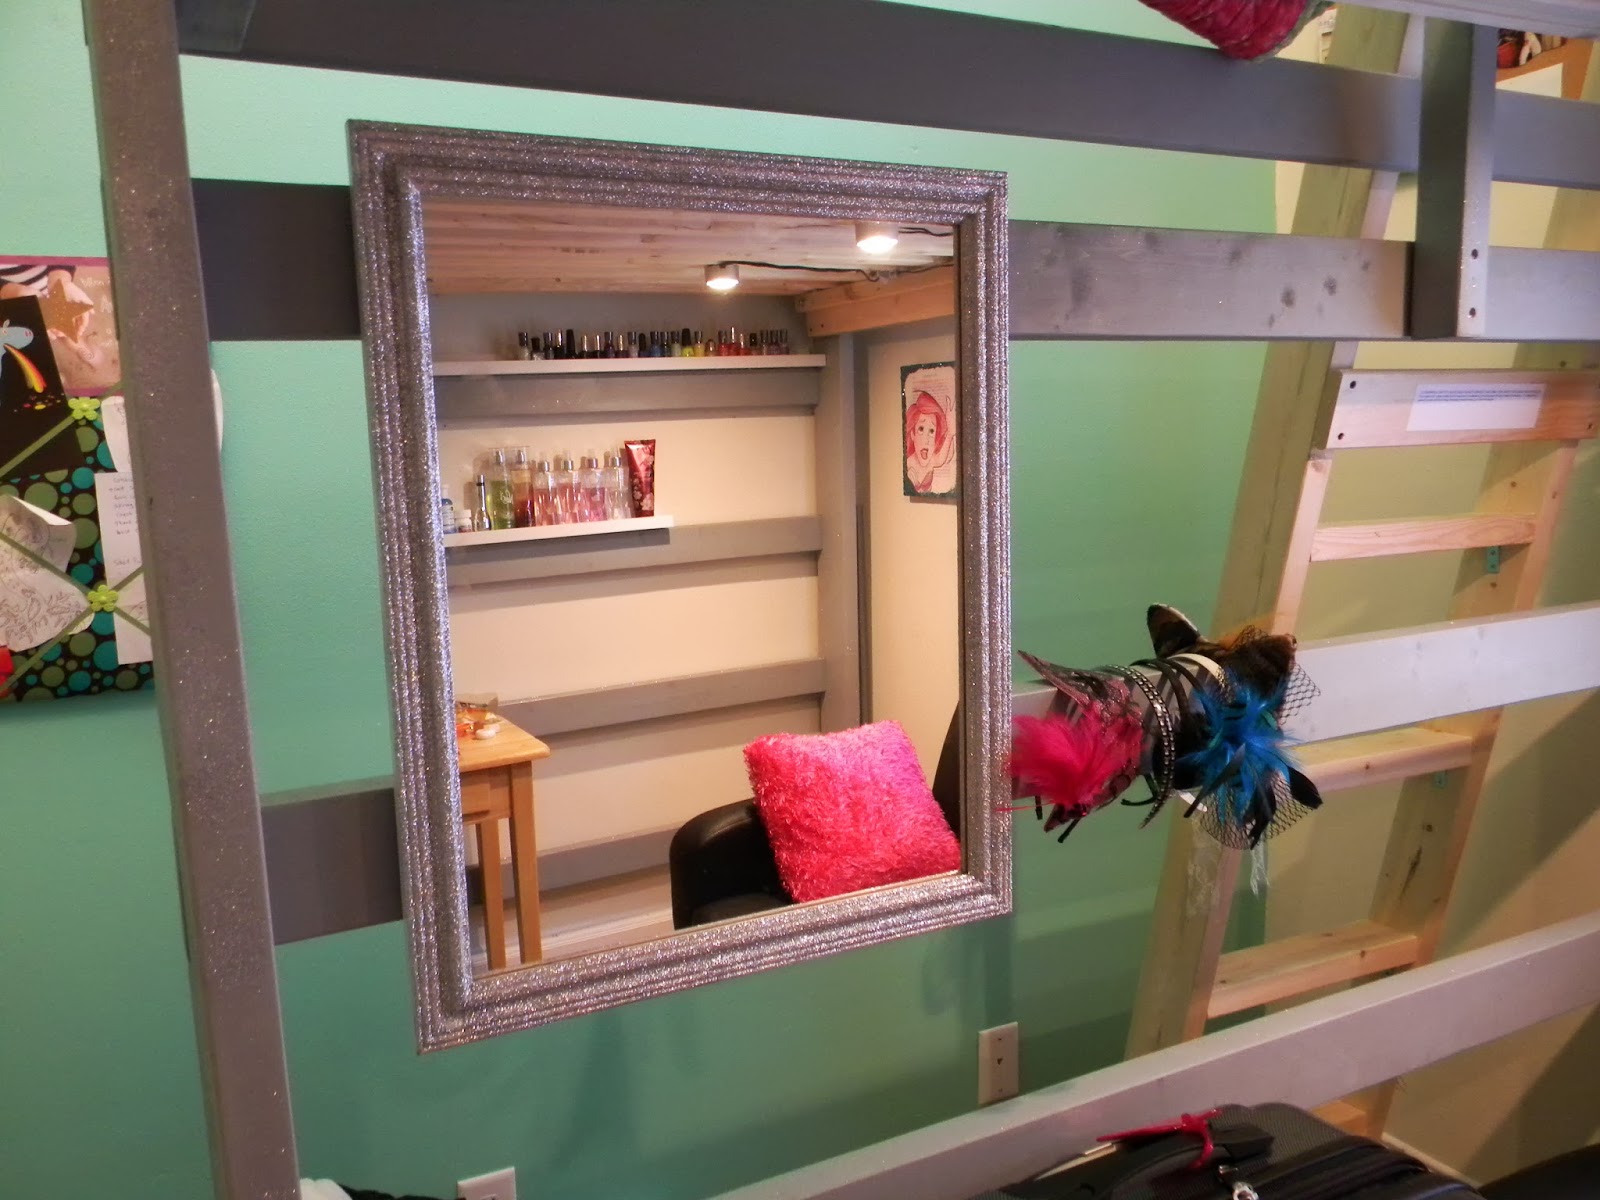
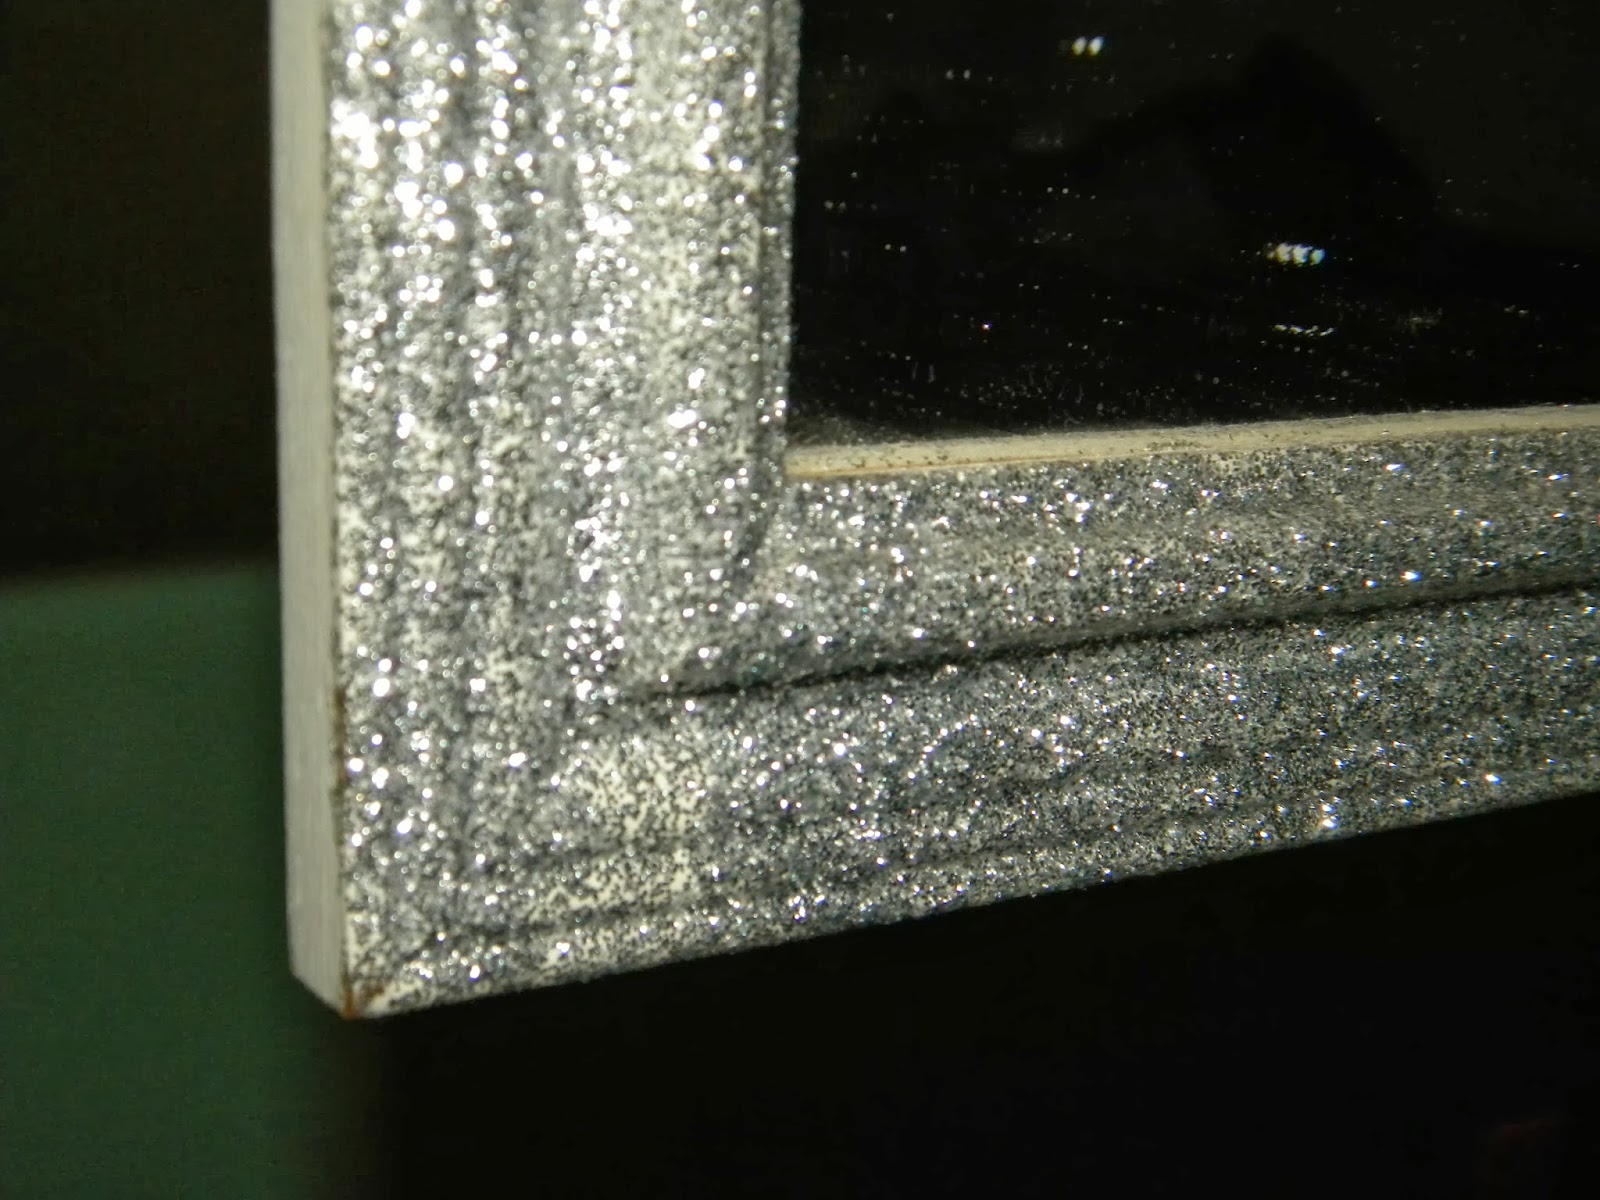
The last project I finished was the mirror.  I'd had a couple of good size rectangle mirrors for YEARS.  They didn't sell at my garage sale, and I knew that someday I would find a place to use them, so they stayed hanging in my garage.  That day had come!  I cleaned up one of the mirrors and glittered the heck out of it!  I didn't glitter the edges, and I wasn't too worried about some thin spots, but I think it looks great where Rhy hung it under the loft!


I could have covered so many other things in glitter, but I stopped myself.  I think these small items stand out in her room.  But I also know that if she had one, the blades of her ceiling fan would be glitter-ified too...

Tuesday, September 17, 2013

Pinterest Review: Ultimate Chicken Fingers (made with Bisquick)

Hi!  How's it going?  Me?  Good.  I've been actually cooking a little more than usual lately, but making a lot of repeats instead of trying new stuff.  I did, however, finally make those Ultimate Chicken Fingers that I've had pinned into my "2 try this week" board for over a month...

Ultimate Chicken Fingers (Gluten Free)
3/4 cup Bisquick® Gluten Free mix 
1/2 cup grated Parmesan cheese 
1 teaspoon paprika 
1/2 teaspoon salt 
1/2 tsp garlic powder
3 boneless skinless chicken breasts (1 lb), cut crosswise into 1/2-inch strips (or 8 tenders)
2 eggs, slightly beaten 
Cooking spray
1. Heat oven to 450°F. Line cookie sheet with foilor parchment paper; spray with cooking spray.
2. Stir Bisquick mix, cheese, paprika and salt in shallow baking dish. Dip chicken strips into eggs, then coat with Bisquick mixture; repeat with other pieces, dipping in eggs and Bisquick mixture two times each. Place chicken on cookie sheet. Spray chicken with cooking spray.
3. Bake 12 to14 minutes, turning after 6 minutes, until no longer pink in center.


Looks like she adapted this recipe from Bisquick.  I did not make them gluten free, because we just had normal Bisquick.  Luckily we had all the other ingredients too, except for chicken, which makes for a short shopping list.  Like!

Verdict:  Yum!  Next time I made it I will put a bit more of the spices into the mix.  I could taste it, but I would go for a bit bolder of a taste.  It was just about the right amount of mixture, but by the last piece of chicken, I was starting to wonder if I would have enough.  And I think this recipe has converted me into a double dunk girl.  Coating the chicken in egg then mix then egg then mix did put more on the chicken.

But the very most important thing about this recipe is that You Must Spray The Aluminum Foil!  If you don't, you'll only get half of the coating.  Seriously.  At least the pan was covered in the foil and it was an easy clean up.

This will find its way back on our menu!

Sunday, September 8, 2013

So, how was your weekend?

I went down to see the family this weekend.  Fun times watching Nate's football game (in which they decimated the other team),


celebrating Tina's birthday with a Casey's pizza lunch, and playing Yahtzee, Sorry, and Sequence.  How was your weekend?

Sunday, September 1, 2013

Pinterest Review: Philly Cheesesteak Sloppy Joe

I like sloppy joes.  Put some onion in with the meat, let it really simmer for a while, use good cheese...  mm mm mm.

So I decided to give a new sloppy joe recipe a try - one I had seen on Pinterest (surprise, surprise).

Philly Cheesesteak Sloppy Joe


1 lb. ground beef/sirloin
1 onion, chopped
1/4 c. steak sauce
1 c. beef stock
1 green pepper, chopped
1 pkg. sliced mushrooms
Provolone cheese, cut into slices or pre-sliced
Salt & Pepper to taste
Buns/Rolls
Preheat broiler.
In large skillet over medium-high heat brown the ground beef/sirloin, about 5-6 minutes. Add the onion, green pepper and mushrooms and cook another 3-4 minutes, until they start to get tender. Stir in the steak sauce and beef stock, season with salt and pepper, bring up to a bubble and cook about 2 minutes.
Split open rolls, place one slice of cheese on one side and toast under broiler, keep your eye on them so they don't burn!
Place a scoopful of the meat on the bottom half of the bun, drizzle with additional steak sauce and place cheesy bun on top! Delish!

This is a Six Sisters recipe - they usually have pretty good stuff.  This wasn't any different.  I, huh, um.  Well, I just noticed that it called for beef stock instead of beef broth, I wonder if that would have made any different?  Anyway, it's good, and we'll be making it again!  I usually put both onions and peppers (as long as we have them) in the meat when I make sloppy joe anyway, so this was a good version of them.

If you make it, let me know how you like it!