Pages

Sunday, October 27, 2013

Mall of America

When Rhyanne asked Jeff if we could go to Mall of America this weekend, we figured, "why not?"  There were two big football games this weekend, which means we got a hotel room for Friday night instead of Saturday.  So we drove up after work on Friday and hit the mall soon after it opened on Saturday.


Anna took some pictures while we were there.  There's nothing like it in Germany, she said.


The Lego store was really cool.  There were a couple of pictures outside the store, all made with Legos (of course).  The Lego store was kinda overwhelming, but if I had a specific project I wanted to work on, it would be a great place to shop for Legos - you can buy them by color!

Another store I'd never been in before was a Microsoft store.  They had a 3-D printer and a video game.  Jeff played against Anna, and he won.


We ate at Bubba Gump, and Anna and I ate off of the "side dishes" menu, since I don't like seafood and she's a vegetarian.
The server asked us some Forrest Gump trivia at the end of our meal, and Jeff & I had all but one answer.  We have seen that movie quite a few times.


And there was a Peeps store!  Can you believe it?  I had no idea there would be a store for Peeps…  It's just crazy.  There were t-shirts and water bottles, in purple with white, that said "One Tough Chick".  We got them for Rhy since the peep was wearing a Viking helmet, which is her high school mascot, and in her high school colors.

By the time we made it home, it was late and it had been a lot of driving.  That didn't stop the girls though - they went to a friend's "fire party" as Anna called it.  She had forgotten the word for "bonfire".

Fun was had by all.

Thursday, October 24, 2013

A household of four - our GAPPie is here!

The program that Rhyanne was in for her trip to Germany this summer (German American Partnership Program, or GAPP) was truly an exchange program.  The girl that she stayed with for most of her stay is now in America, staying with us.  The girls are staying very busy with scheduled events and just hanging out with other GAPPies.

Welcome Anna!  These girls get along so well, so much laughter comes from their room! 
 
The whole group, with tall people in front of our short girls.
 
Anna brought us pizza from Germany...
 
Gummie Pizza!  The peppers were so hot I had to spit it out!
 
She also brought amazing chocolate and marzipan, my favorite.  She started to explain what marzipan is, to which I responded, "Oh, I know marzipan.  It's my favorite."  I was a very happy girl.

Tuesday, October 22, 2013

Chase's baptism

On June 9, 2013, Jeff was honored to become his nephew's godparent. 
Chase is Becky's youngest son.
 
The dads all dunked the babies in the water, and handed them to the mommas.  There were a half dozen baptism that Sunday.

Big Brother Logan quickly got over his shyness with Uncle Jeff.

Mommy & Baby

The whole family - the best I could do with my camera phone...

Jeff with his godson Chase.


Sunday, October 20, 2013

We had s'mores last night

Last night was the welcome party for the German students.  It was out in the country, in a really nice machine shed, and they had fires going for s'mores.  I had volunteered to bring the s'mores supplies, and promptly started looking on Pinterest for good ideas.

This is what I took:

  • Honey Graham Crackers
  • Cinnamon Graham Crackers
  • Fudge Covered Graham Cracker Cookies
  • Large marshmallows
  • Extra-large marshmallows
  • Peeps
  • Reese's peanut butter cups
  • And, of course, Hersey's chocolate bars.


I absolutely spent too much money.  I have a tendency to worry that I don't have enough of something, so I get more.  BUT I didn't want to be the person who cheeped out of s'mores supplies.

I used two fudge graham crackers, an extra-large marshmallow, and a peanut butter cup for my s'more.
my husband roasted the marshmallow
It was very large, crumbly (I think half of it went down my bra), and oh, man, way too sweet.  I just had the one.  I really liked the peanut butter cup in it, but the fudge graham crackers were just way too much.


There are two types of s'mores makers in this world:

  • burners
  • melters

I am a melter (even though I hadn't roasted marshmallows since about 6th grade).  I married a man who burns his marshmallows - holds them right in the flame waiting for it to catch fire - with a daughter who does the same.  I was not thinking of the marshmallow burners of the world when I brought Peeps for s'mores.

Here's the deal with Peeps:

They are covered in sugar.  Sugar burns.  And I found out last night, it burns a really intense blue and you can't always blow out the fire.  True story.  So maybe stay away from Peeps if you want to burn the marshmallow, cuz it's way too intense.

How do you like your s'mores?

Saturday, October 19, 2013

From vanity to side table: Vintage Shabby Chic


aw, look, stuff we used as wedding decor...
About two years ago, my coworker gave us a vanity for Rhyanne to use.  She needed a place to do her hair and make-up, because it was just too hard for three of us to all get ready in our one and only bathroom.  So she then had her place in her room, and we brought my (and my dad's, and his grampa's) dresser up from Mom & Dad's house for me to use.  All were happy.  (Including my coworker, who'd had that vanity on her front porch for a while.  It was an antique when her dad bought it for her when she was a child.  She just retired this summer.)

Well, when we were giving Rhyanne's room a make-over, we could see that there would not be room for her vanity.  So it went to the garage until we knew what we would do with it.  Once Rhyanne got home and was getting settled in, she mentioned that she missed the drawers on her vanity, and didn't know what to do with a lot of things that were still sitting in those drawers (I had taken them out of the vanity before taking it out to the garage).

Lightbulb!  I think that vanity has eight legs!  So we trotted our happy little butts down to the garage, and lo and behold, it did have eight legs!  And so an idea was born.

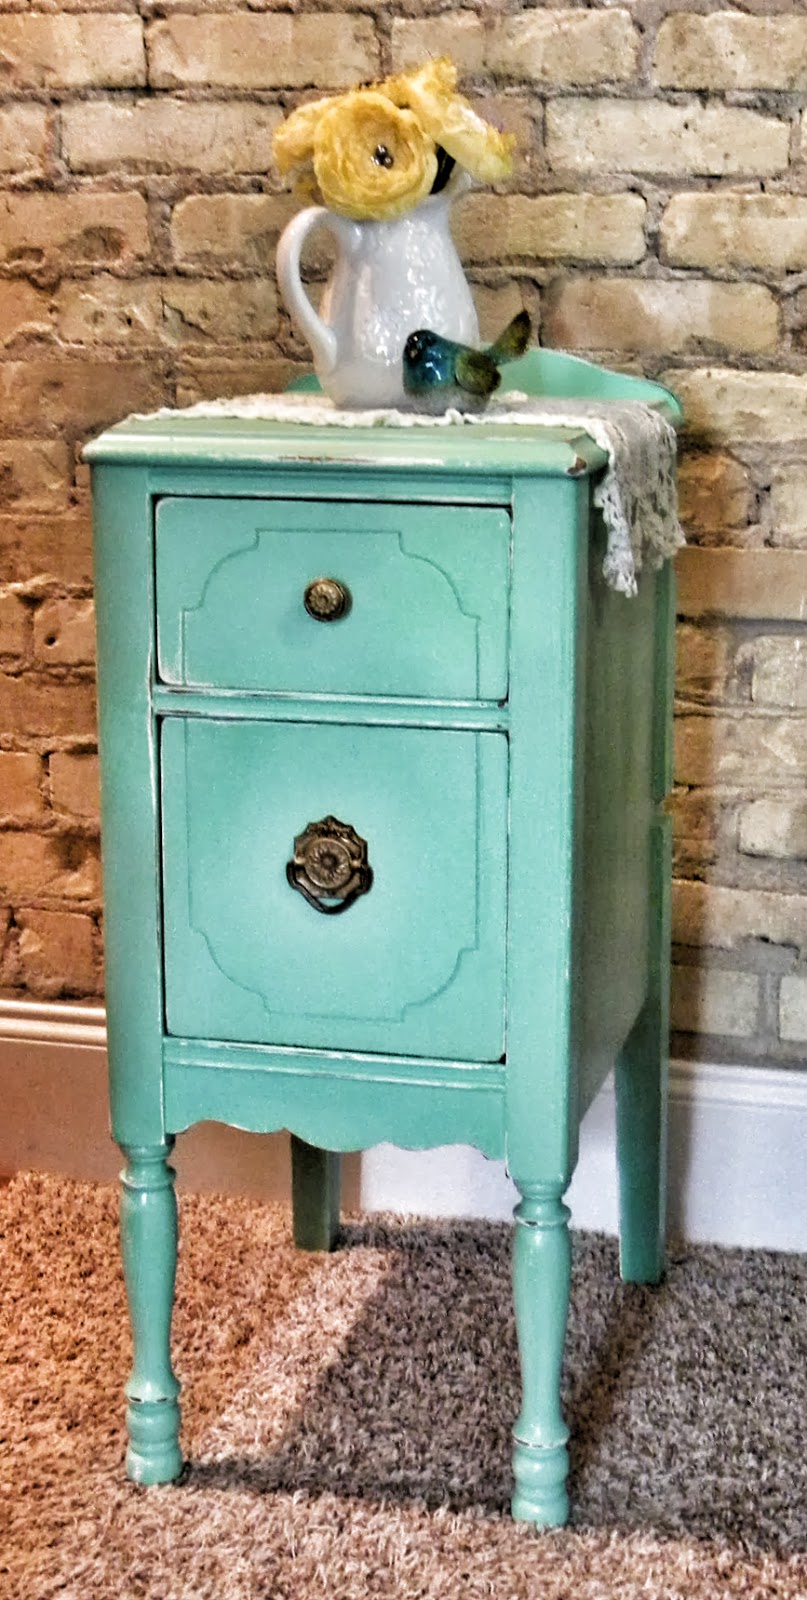
We would give that vanity new life as two end tables!

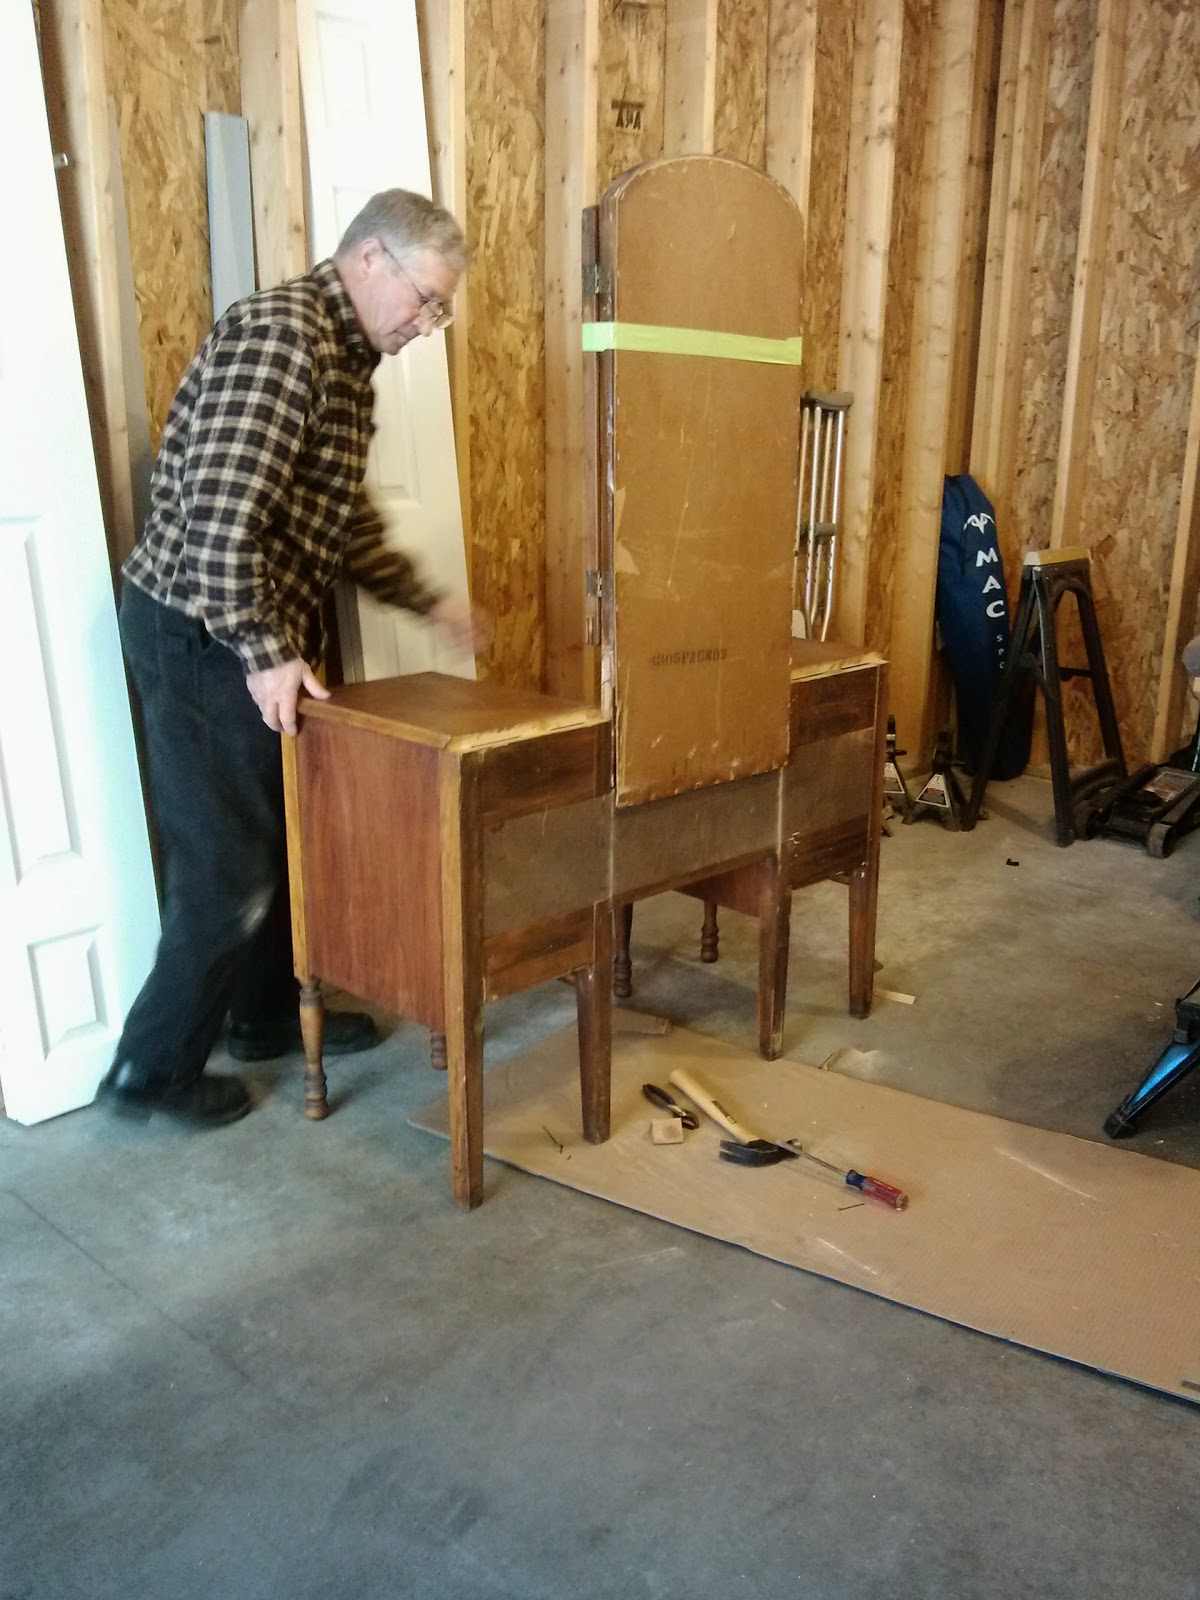
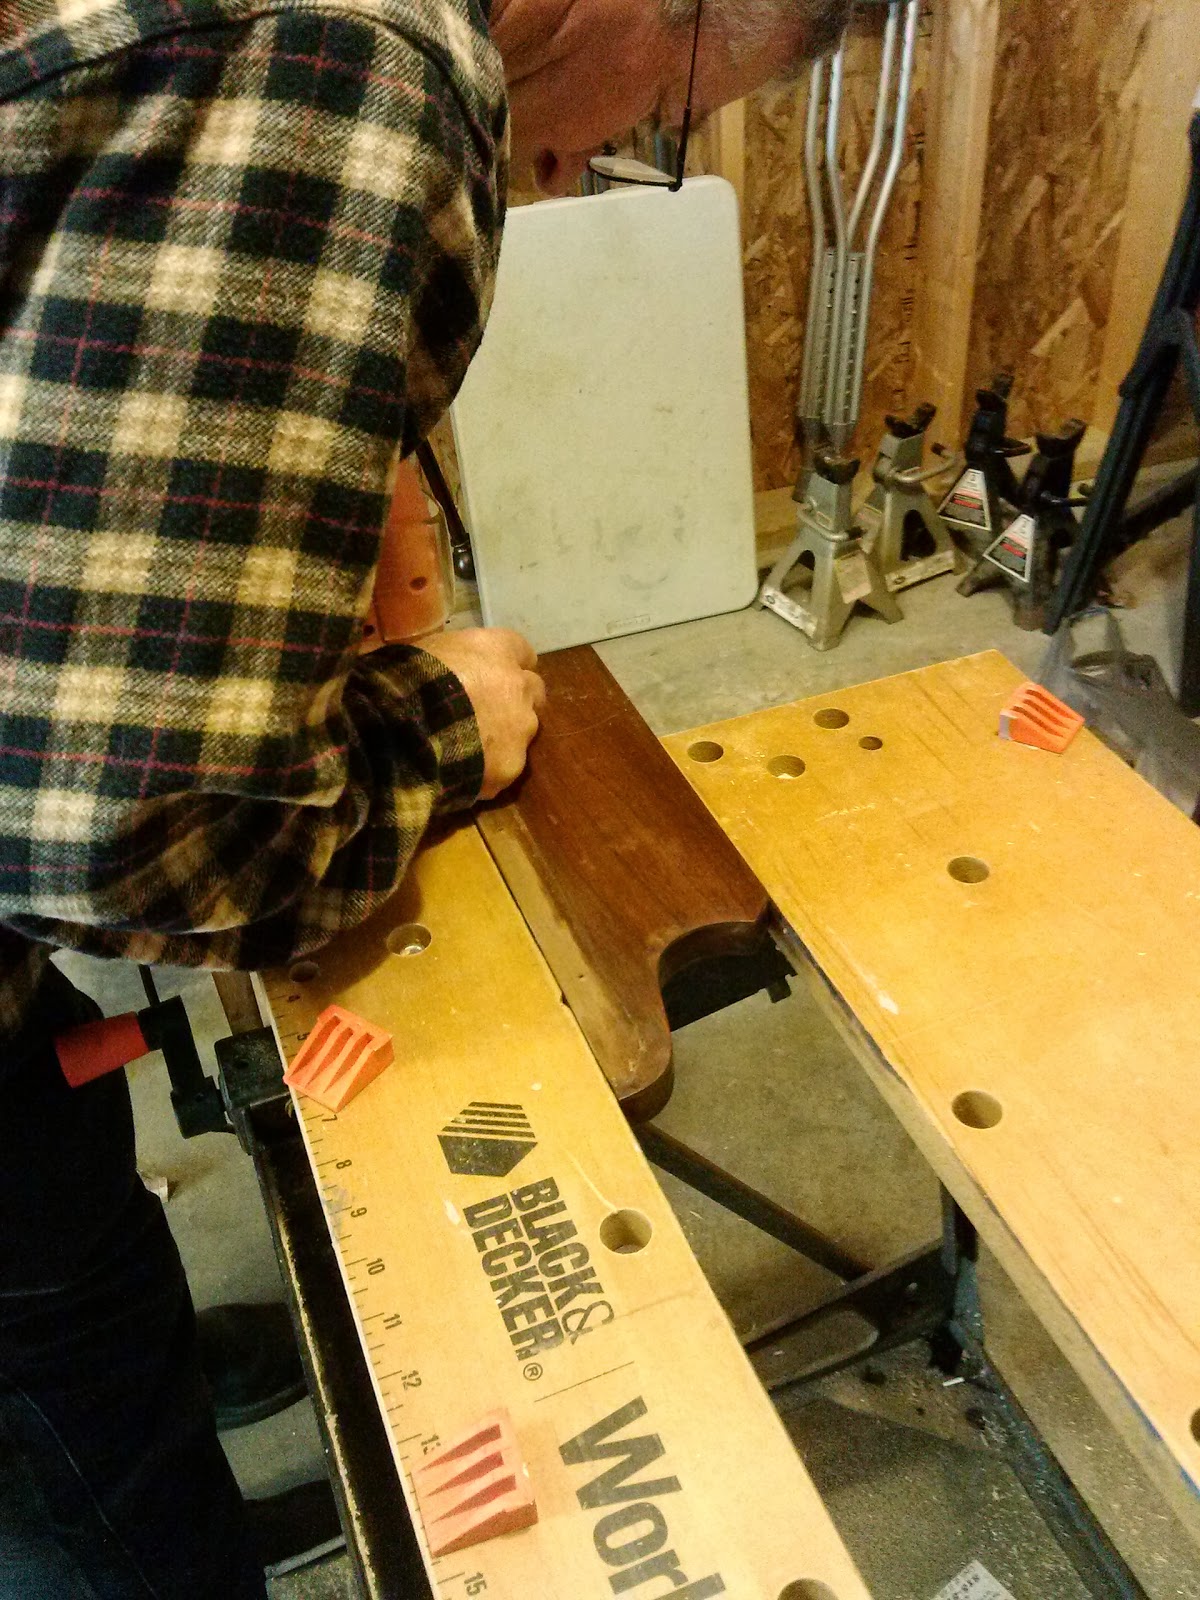
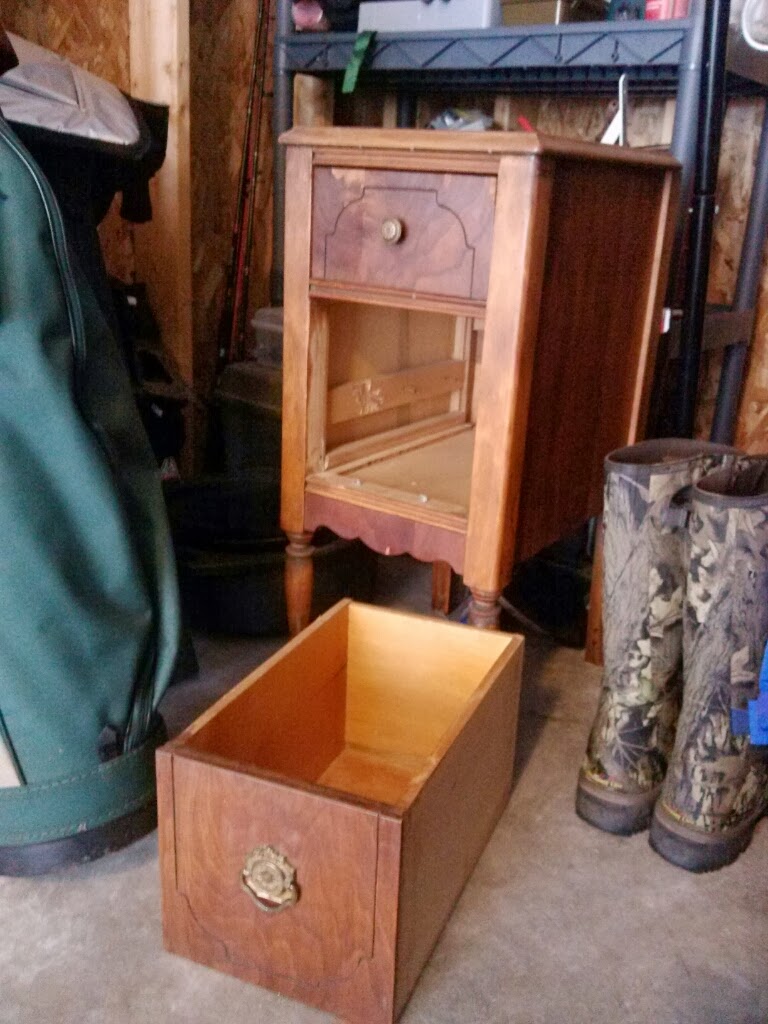
After looking at that end table for a while (a couple days, or maybe weeks), I called Dad to ask for help.  How do we take this thing apart?  The next day, this is what I found when we got home from church:

Dad was there, in the garage, taking the vanity apart!  I guess it was time for him to take a road trip...  He came up, I sent him the garage code, he did his work, and didn't stick around long afterwards so he could make it home in good light.  Hopefully it was a good ride. 

Unfortunately I didn't get a before shot of it...

Once it was apart, we did some work making the pieces of wood for the back (what do you call those things), including using a scroll saw and a drum sander.

I then went to work with some Murphy's Oil Soap and, finally, sand paper.  The transformation was truly amazing.  The wood was so smooth!  It was almost a shame to paint the thing.

Almost.

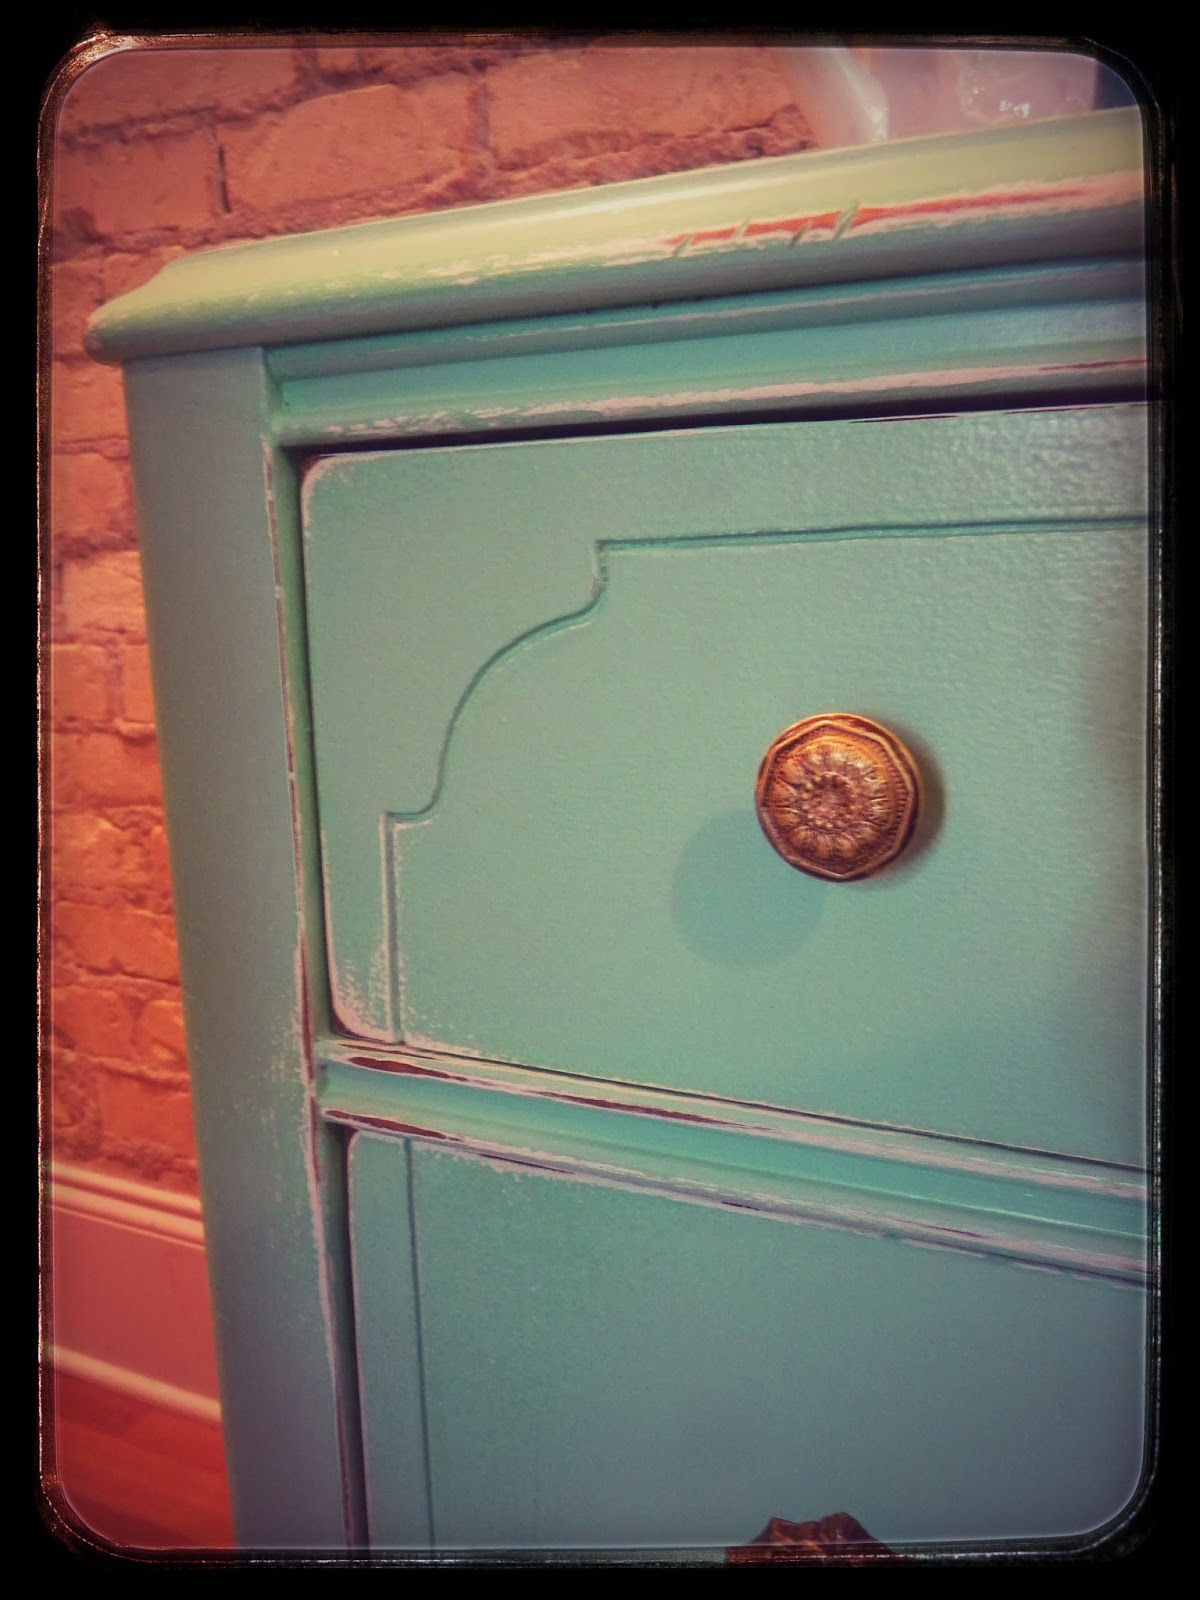
I showed Rhyanne some pictures on Pinterest that matched what I thought she had described, and came up with a plan.  I put a couple of coats of white paint on, and then a coat of the green paint that's on Rhyanne's accent wall.  I then mixed some of the green and white paints, and some water.  I quick slapped that on as the top coat of paint.  All of that happened over quite a few weeks of working on it when it wasn't humid, or hot, or whatnot.  It took quite a while.

Next, the fun, easy, and fast part.  I got to distress it.  It didn't take much muscle for that sand paper to take off layers of paint.  I knew we weren't going for the insanely over-the-top distressing that I've seen, so I just focused on the ares that would have really gotten wear and tear.  Corners.  Edges of drawers.  Legs.  I may have used a wrench to beat on it a few times.  And I think it turned out fantastic!


After the paint was done, I used Tarn-X and cleaned up the original drawer pulls.  I then sprayed Polyurethane on the whole thing.  The poly really pulled out the differences in the paint, exaggerating the distressing I had done.  It also shined up the pulls a bit, which it really needed.

Here's the before:
this is actually the twin to the side table Rhy has, but the only "before" shot I can come up with.

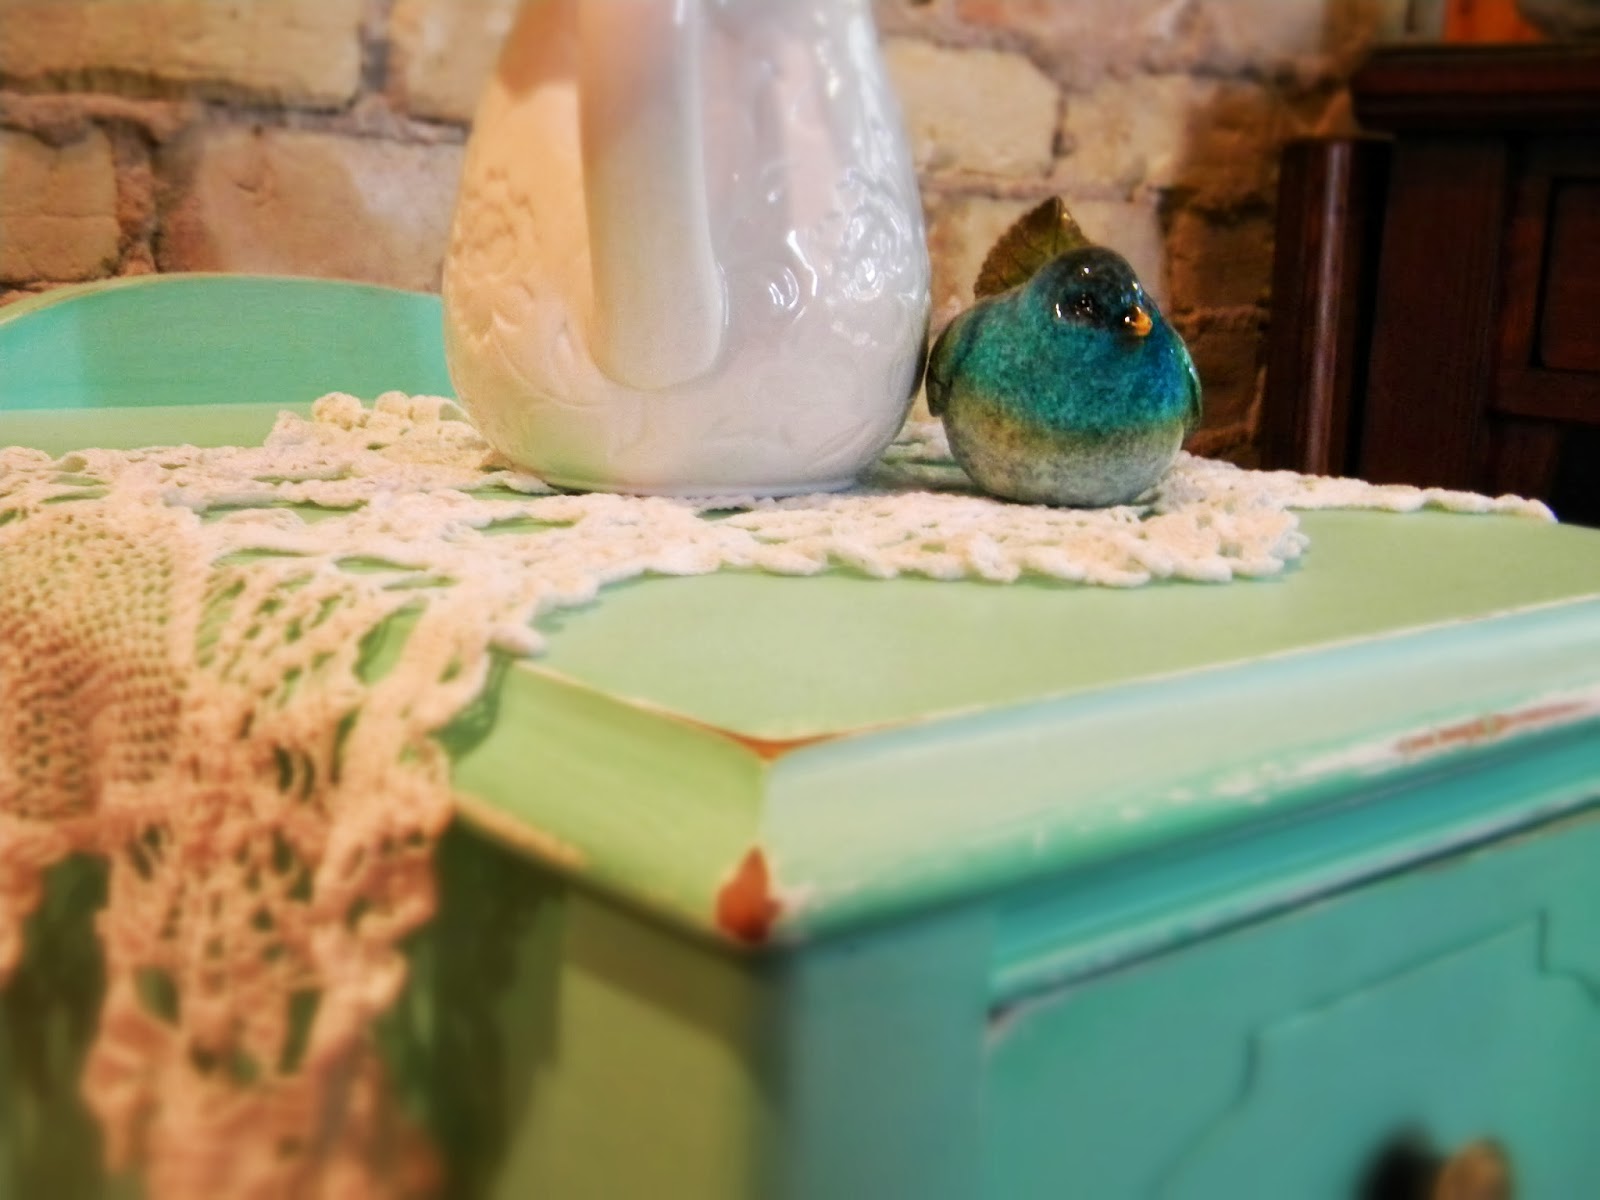
  And here's the finished product:


Friday, October 18, 2013

Pinterest Review: Quick Blender Jell-o


I like Jell-o.  Some people think that it's hospital food or for kids or something, but I like it.  I think it's cool and refreshing.

I tried this Quick Blender Jell-o from Real Mom Kitchen a while back:

  • 2/3 c. boiling water
  • 1 (3 oz) package Jell-o
  • 8-10 ice cubes
  • 1  (8 oz) container of Cool-whip
  1. Place the boiling water in the blender and add the package of Jell-o.  Place the lid loosely on your blender.  Since you are using boiling water, if you put the lid on tight you could end up with an explosion.  Blend for 1 to 2 minutes until the jello is dissolved.
  2. Add the ice cubes to the blender ONE at a time.  Blend after each addition until the ice is well blended.
  3. Add half of the container and cool whip.  Blend until combined.  Pour Jell-o into desired dish/dishes.  then chill until set.  the original recipe said 5 minutes but I would plan on at least 30 minutes.
I used orange Jell-o (a favorite of mine and I had some on hand), and added a can of mandarin oranges at the end.

Verdict?  This was good.  A bit watery, though.  I also think that the addition of the Cool Whip takes away from the orange flavor.  But don't get me wrong - this totally got eaten.  It just won't end up on my frequently-made-recipes list.

What's your favorite Jell-o recipe?


Thursday, October 17, 2013

Second Anniversary

On Tuesday Jeff & I celebrated our second wedding anniversary (and 4th anniversary of our first date) by going out for fajitas.  That just happens to be the meal we had on our first date also.  :-)

The traditional 2nd wedding anniversary gift is cotton.  This is what Jeff & I each came home from the store with on Monday:
So romantic...

I love you honey!

Wednesday, October 16, 2013

Taco Casserole - a good way to combine your tacos with some Doritos


Pinterest is full of Taco Casseroles.  I used this one from Bombshell Bling as inspiration, but changed it to be the way that I make tacos...

Taco Casserole

  • 1 can of beans or refried beans
  • 1 pound (or so) of ground beef
  • some onion
  • some bell pepper
  • Taco seasoning
  • CHEESE!
  • Salsa

Set the oven to 350 degrees.  Brown up your ground beef, onion, and bell pepper, or whatever you put into your taco meat when you make tacos.  I bet that it doesn't get made with peppers at my sister's house....  Heck, make it with shredded chicken if you want!  The joy of cooking is knowing you can change it to make it your own, right?  Add in the taco seasoning (I use a packet - I've not yet taken the time to mix my own), and whatever water you might need with that seasoning.

Spray your casserole dish and put the beans in the bottom.  Put your finished taco meat on top of the beans.  Then add your cheese.  I live in the land o' cheese, so I covered the top well with a mixture of pepper jack, cheddar, colby, & swiss.  It's a mix from a local dairy farm that I've never tried before but thought it would be a good time to try it.  The put some salsa on the top.  We have a huge thing of Pace Mild Chunky Salsa and I just kind of put a healthy amount on top.

Pop that in the oven for 30 minutes.

You should probably let the casserole sit for 5 minutes or so before digging in.  We had a lot of "juice" in the bottom of ours that would have probably been absorbed if I had waited.

Make a plate/bowl of Doritos (or chips of your choice, or use a tortilla, whatever!), and add your casserole on top.  If you don't want it to be finger food, crunch up the chips ahead of time and use some silverware.  I like a nice build-up of Dorito cheese on my fingers, myself. 
 
Jeff & Rhyanne added sour cream, and you can add any other toppings you want, like shredded lettuce, tomato, olives, etc.

I really really liked it. There was just enough tang to it, and I'm thinking that's because I used seasoned black beans. It was just enough different from tacos that I didn't feel like it's the same old meal, but it pretty much has all the same ingredients.

How do you re-do your go-to recipes?
 

Monday, October 14, 2013

Pinterest Review: Carmel Apple Cake

Oh, how I love me some caramel apples!  Could you tell, what with two caramel apple cake posts in a row?  Oh, the yummy caramel (which I do think is better than chocolate) with the apple...  And I'm learning the amazingness of putting that caramel on tart apples...  this is a very tasty time of year for me...

So when I was looking for a recipe to make for Fellowship, I went straight to my Apple board on Pinterest, where there are many caramel apple inspired recipes.

Fresh Apple Cake with Brown Sugar Glaze


Apple Cake:
  • 1 1/2 cups all purpose flour
  • 1 cup sugar
  • 1/2 teaspoon baking soda
  • 1/2 teaspoon salt
  • 1/2 teaspoon cinnamon
  • 2 eggs
  • 1/2 cup canola oil
  • 1 teaspoon vanilla
  • 1 1/2 cups finely chopped apples
  • 1/2 cup pecans or walnuts, chopped (optional)
Brown Sugar Glaze:
  • 1/2 cup packed light brown sugar
  • 3 Tablespoons butter
  • 1/2 teaspoon vanilla
  • 1 Tablespoon heavy cream
For the cake: Heat the oven to 350 degrees F. Grease an 8-inch pan (round or square) and set aside.
In a medium bowl, combine the flour, sugar, baking soda, salt and cinnamon.Stir with a whisk to mix everything together.
In a large bowl, mix the eggs with a hand mixer til light in color and foamy. Add the oil and vanilla and beat well.
Stir in the flour mixture with a spoon and continue stirring the batter til the flour disappears. Add the apples and nuts (if using) and stir to mix them into the batter.
Scrape batter into prepared pan and bake for 40-45 minutes, or until a toothpick inserted in the center comes out clean.
Place the hot cake on a wire cake. While it's still hot, prepare the glaze.
For the glaze: Combine all the ingredients into a saucepan. Cook over medium heat, stirring often, until the mixture comes to a gentle boil. Cook for 3-5 minutes.
Spoon the hot glaze over the still hot-from-the-oven cake. Let the glazed cake cool completely before serving straight from the pan.


Verdict?  Yum!  But holy crap was it SWEET!  Yikes!  I needed to drink water after eating this it was so sweet!  Rhyanne thought it would be better without the glaze, and I think she may be right.  If you don't need to go into a sugar coma, you might want to try cutting the glaze recipe in half.  There would still be plenty.  Also, I didn't feel like I could really taste the apples so much, so make sure you use a really flavorful apple.  Looking back, I know I should have bought Granny Smith instead of Fuji apples.  And, if I were to make this again, I would put cinnamon directly onto the apples before adding them to the mix.  I think that would bring them out better.

Also, without the glaze it was a bit more bread-like.  I might make it again without the glaze and serve more like a bread.  Or I could just see if Mom would make us some zucchini bread...  that would be awesome!

Pillsbury Caramel Apple Cake Remix

So we're at Target, perusing the food section in case we need anything and I see this new seasonal cake and icing flvor, Caramel Apple.  And I thought,

"Well, that's going to happen."


And into the cart they went.  I then went down to the pie filling and grabbed a big ol can of apple pie filling, because, you know, this.


After my weekly Packer-nap, I turned the oven on to 350°. I beat 3 eggs (wow, that sounds violent), and mixed in the cake mix and pie filling. Plopped all that into my greased* cake pan and baked for 35 minutes.

Waiting for the cake to cool was not so fun, but I did. And now that I have frosted it and tried it, I know it was worth it! It is a bit too sweet, and I think that's from the frosting, and I only used two thirds of the can. 
 
 
I think that if I were to do it again, I would buy the cake mix and maybe some cool whip for the frosting. But I am in love with the cake mix!


BTW, I am not affiliated with anyone associated with Pillsbury and it's all my own opinion. I wish I was cool enough for a company to ask me to review their products! hint hint....


*Don't you hate it when you run out of cooking spray because you had bought two, which were both being used for a long time, ran out around the same time. And you didn't know so you didn't buy any spray at Woodman's. Yeah, me too.  

Tuesday, October 1, 2013

Pinterest Review: Breakfast Cookies

It was once again our turn to bring something for Fellowship after church.  Last time someone mentioned how colorful food is that comes from our house.  Well, that was because of the time of year, spring, summer, those just need colorful treats!

This time I decided to try these Breakfast Cookies pinned from Cookies & Cups.

  • 1 can seamless crescent rolls
  • 1 (8 oz) block cream cheese, room temperature
  • 1/4 cup sugar
  • 2 tsp vanilla
  • 1/2 cup mini chocolate chips
  1. With your hand mixer, beat sugar, cream cheese and vanilla together until smooth in a medium sized bowl.
  2. Unroll the crescent roll sheet. Stretch dough out slightly. It should be in the shape of a rectangle.
  3. Spread the cream cheese mixture over the top of the crescent sheet, leaving a gap at the edge about 1/2 inch.
  4. Sprinkle your chocolate chips on top of cream cheese.
  5. Roll the crescent sheet up tightly and wrap in cling wrap.
  6. Refrigerate for at least 2 hours, or overnight.
  7. When chilled preheat oven to 350°.
  8. Line a cookie sheet with parchment paper to prevent sticking.
  9. Slice the crescent roll into 1/4" slices. Bake on prepared cookie sheet for 12 -14 minutes until crescent roll appears golden brown.
  10. Transfer to wire rack.
  11. Eat warm or room temperature.


Verdict?  They were okay.  And I think they would have been better had I not been trying to stretch the recipe to take to church.  Also, I think that perhaps less is more when it comes to the mini chocolate chips (I really don't think I'll ever say that again...)  But, I don't think I'll make them again.  

I am, however, very happy that I read this recipe because it told me that they now make the Pillsbury Crescent Roll dough in a seamless sheet!  Wahoo!  I'm very excited about this, and planning out making my own (semi-)homemade version of Butter Braids...